About Inventor
Inventor is a 3-dimensional design program capable of creating parts and objects through the use of CAD (Computer-Aided-Deisgn). In the program, you are able to create parts, assemblies, drawings, and animations. The program lets you create a 2-dimensional drawing, which you can edit the dimensions of. Once you've perfected your drawing to the right dimensions, you are then able to extrude the sketch, allowing for the use of 3-dimensional tools. (holes, fillets, chamfers, extrusions, etc.) You can then multiply your part in an assembly, where you will use multiple different parts to assemble together and create an assembly sketch. You are also able to convert your part/assembly into a blueprint-like drawing, or into an animation.
|
|
|
Widget Project: Sketching
|
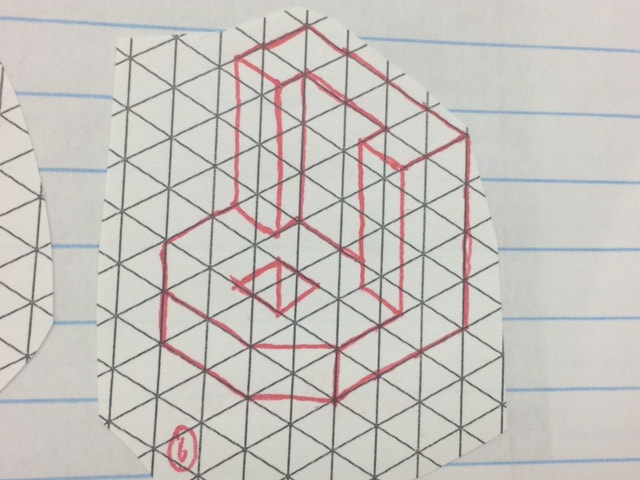
To begin our widget project, we would sketch the widget down on paper. We would be given an example sheet and have to transfer the dimension of the widgets onto our isometric sheets. We were told to use a pen and a pen only. Once we sketched out all six of our widgets, we were told to circle the one that we would want to 3D print.
|
|
Widget Project: Using Inventor
|
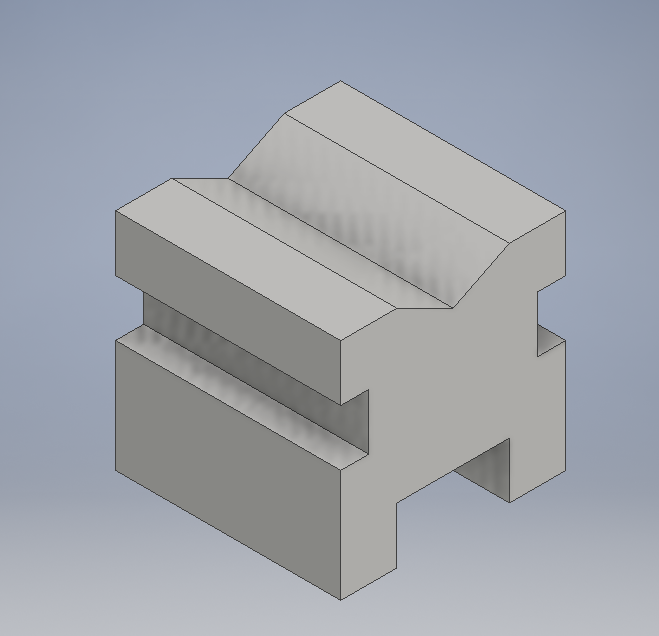
Widget 5

|
Widget 4
|
Widget 3
|
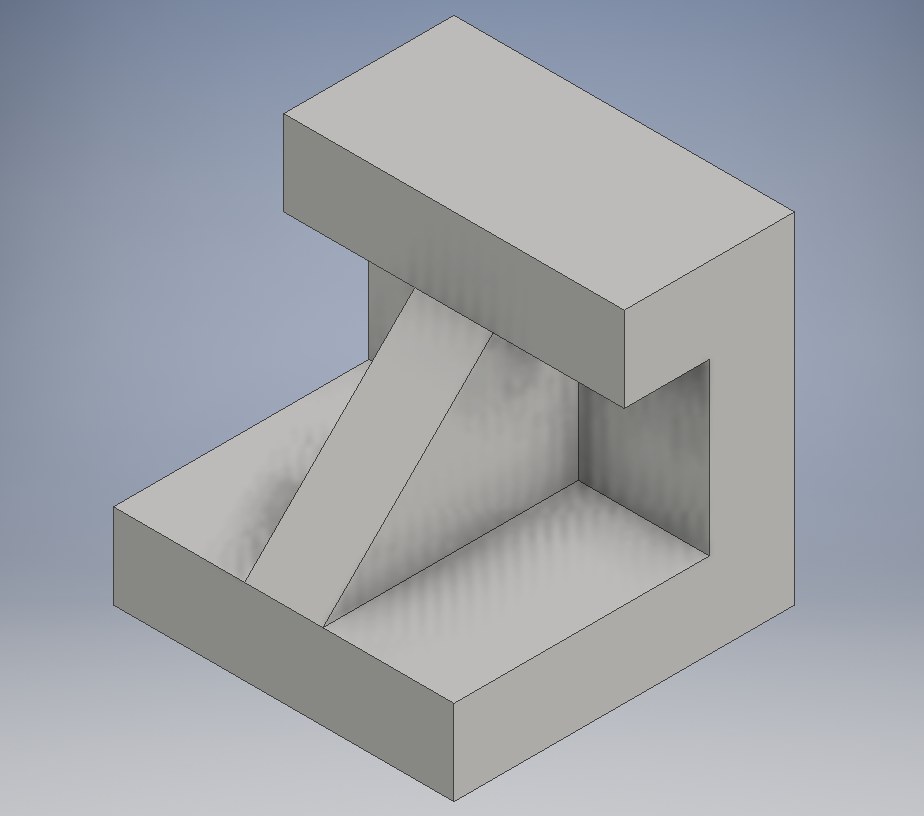
Widget 2
|
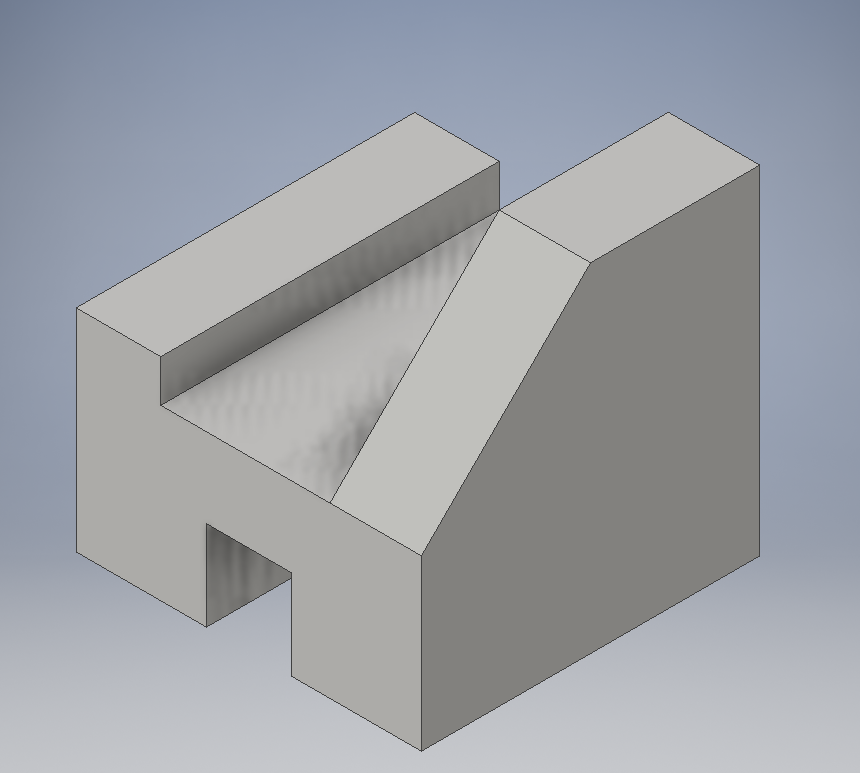
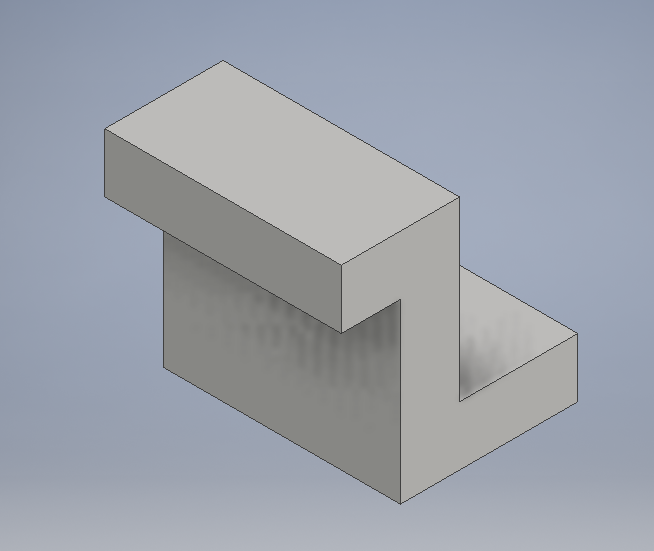
Widget 1
|
The next class period after we got our widget sketches done, we were (re)introduced to Inventor (As I took Gateway to Technology last year I was pretty familiarized with the program). We were told to transfer each widget from our sketches on to the program, the scale was that each line was equivalent to 1/4 inch. I was able to successfully transfer the dimensions of each widget into the program (But I will say that specifically widget #3 gave a little bit of a challenge). I made sure though to take a snip of each widget (A before and after shot).
Widget Project: Transferring to Makerbot
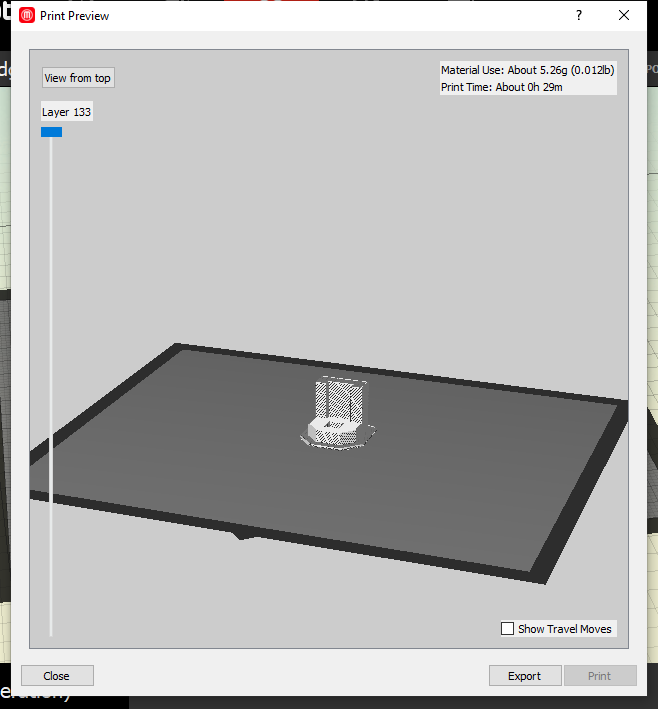
Once the entire class had managed to finish their inventor widgets we began the process of 3D-printing our widgets. First, we had to export the Inventor file of the widget that we chose (I chose widget #6). After I successfully exported my widget, I set up Makerbot. (Makerbot is the 3D-printing software that we will be using in class.) We were to then set up the dimensions of the 3D printer and export the Inventor file over to Makerbot. On Makerbot, we wouldn't need to tamper with dimensions or the overall shape of the widget. (unless we got the dimensions wrong of course.) All that we really needed to do on Makerbot was set up the widget so that it would 3D-print without issues. We would first pull up a pre-image of how the 3D printing process would go. If it looked right, and nothing looked strange, then would would save the file and begin our process into 3D printing the object.
Widget Project: 3D Printing
|
|
|
|

|
|
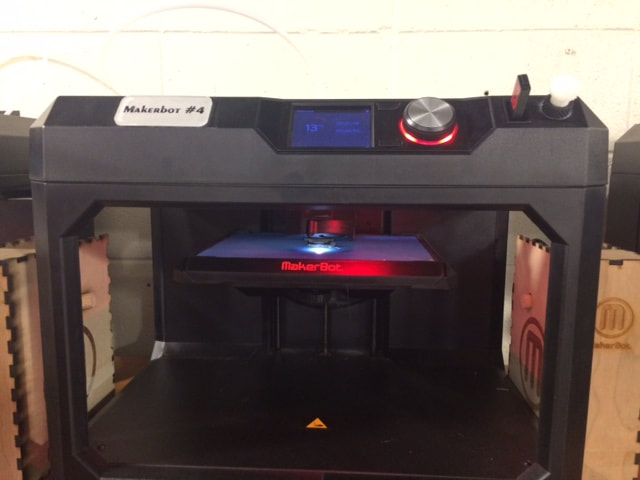
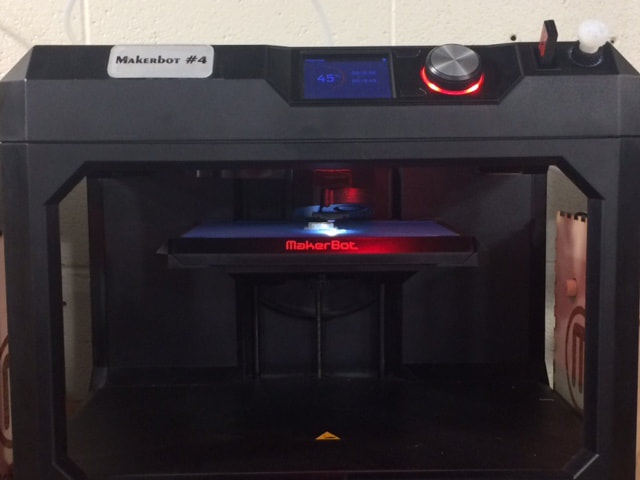
To begin the final step in the widget project, I went down to the lab and grabbed my designated USB. I would then plug my USB into the computer and extract my saved Makerbot file onto the USB. I took my USB from the computer, and brought it down to the lab. Since there were a lot of other people 3D printing at the same time as me, I had to wait a couple of minutes for a slot to open up. Once a spot opened up, I put my USB into the 3D printer, selected my file, and waited for the program to begin 3D printing. It took about 30 minutes to print my object, but I made sure to take pictures of the object being 3D printed. Overall, I think that my object had been 3D printed very nicely (and to the right scale thank goodness!) In my opinion, this project was a very fun way for us to get used to 3D printing objects and using the Makerbot program!
