3D Printing Project
|
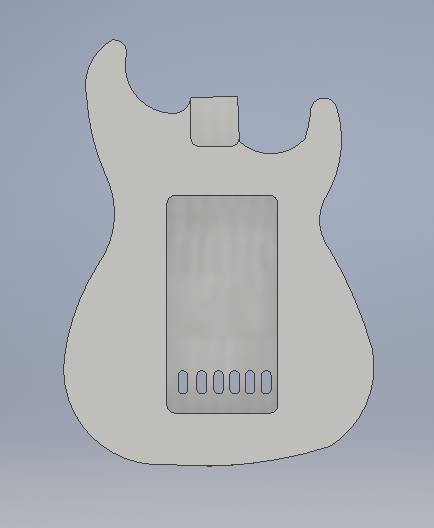
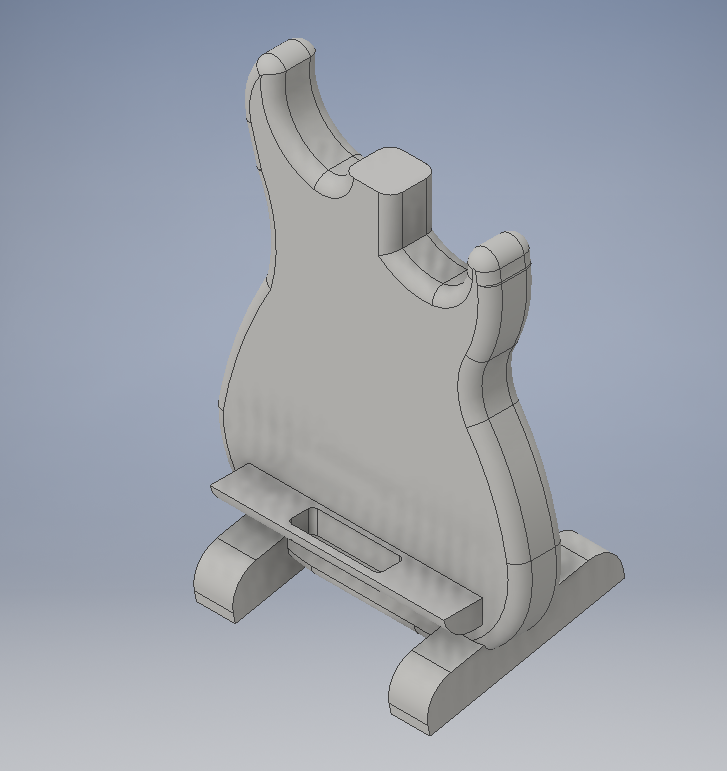
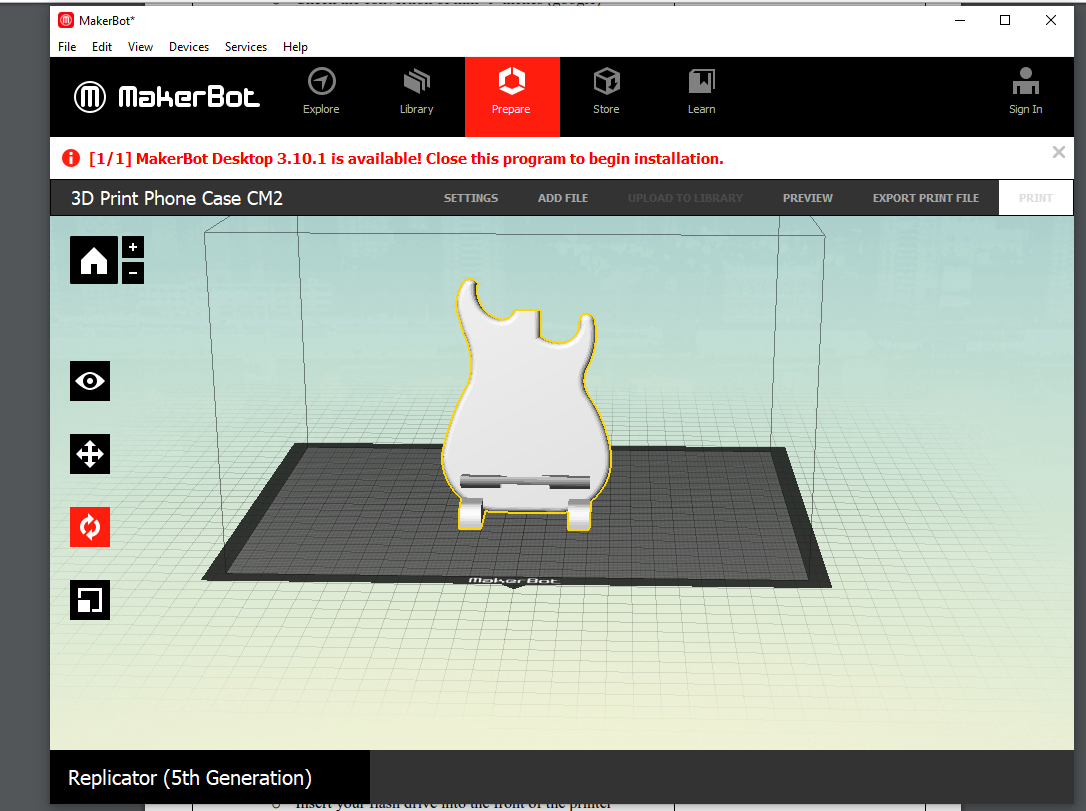
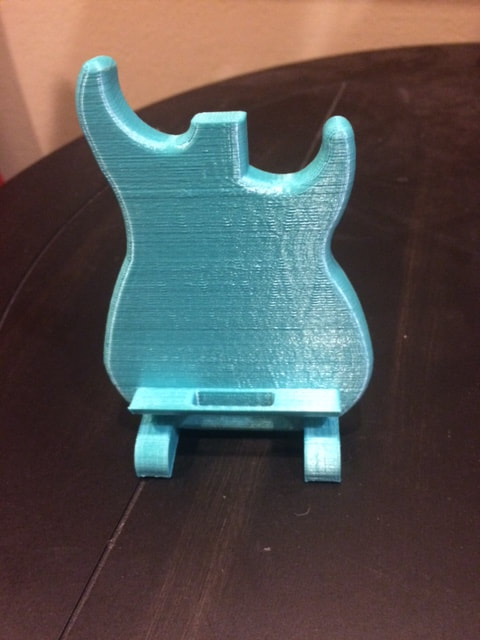
For this project to begin, I had to choose between making a coin-sorter, a phone-holder, and a toothbrush-holder. I decided to make a phone holder. We were also told that our design had to be unique (not just a geometrical shape holding something). I then decided that I would like to make a phone holder but using a guitar body. I then hopped on Inventor and decided to start free-handing my design, but I was stopped short by one particular problem. Inventor didn't have a free-hand line mode, so I needed to think around this problem. I then came across the arc tool, which allowed my to get the rounded shape of the guitar body that I needed. I then came across a huge problem with my first design however. It was too small. So I needed to scrap the design and create a larger one. In my next design I decided to do something that would make this project a lot easier. I decided to upload the image of the guitar body into Inventor, and then draw over that image, using it as a template. This discovery helped my project turn out wonderfully. Everything was going great so far, but then I discovered what was wrong with design #2. It was too big. So that meant that I had to start all over again. This time I decided on a specific height and width. I also used the template again to create my design. What I ended up coming up with in design #3 that make it so successful, was that I used the body of the guitar itself to hold the phone while 2 stand legs crossed through the body of the guitar at an angle, which allowed for the phone to sit on the stand at angle and not fall out of the stand. This design ended up being just the right height and width to meet the specifications while also functioning as a successful phone-holder. I then saved the file and exported it to Makerbot. In Makerbot, I set up the file to print to the correct size, and I also made sure that everything would print out correctly (I had to use supports for this model). After previewing the printing process of my model, I saved the file to my USB. Once I had the file saved onto my USB, it was time to print. I took the USB down to the lab and plugged it in to a vacant 3D printer. I pressed start and then waited. (It would take 3 hours for the stand to completely print out, so I came back next class to pick it up.) When I returned to to pick up my stand, I had found that it had printed out with no problems. Also when I put my phone into the stand to test it, it worked! I am very proud of how this project turned out, and I am also sure that I can use this phone stand at home for general purposes!
|
|
|
|
What I learned
During this project I especially learned something handy, and that was that in Inventor, if I'm ever having a problem creating a model, I can upload images off of the internet to use as templates, to give myself a better understanding of how that object should be created.
