About Illustrator
Adobe Illustrator is a 2 Dimensional graphical editing software that allows you to create sketches. Adobe Illustrator is the program we use to design things for the laser and the vinyl cutter. In adobe illustrator you are able create sketches, import pictures from the internet, and even convert raster images to vector images.
Keychain Project: Using Illustrator
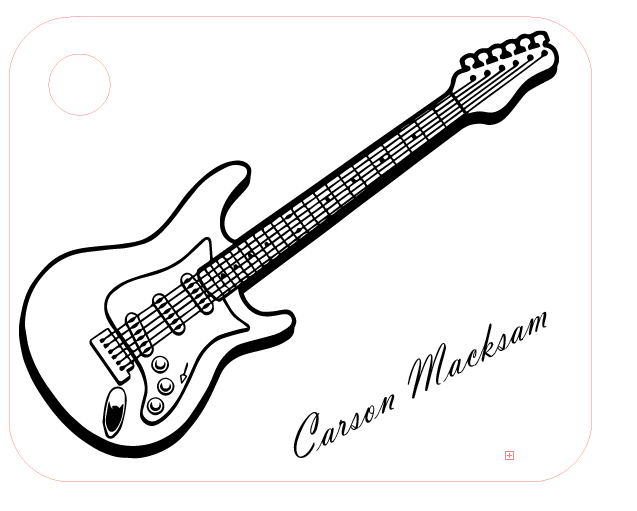
To begin the project, we would sign in to Illustrator using our google accounts. After that we would create the template we would be using to make our keychains. Before we create the template we needed to set the dimensions of the template (2.75 x 1.75 inches). Once we have this template created, we will go to our tools bar and click on the shape tool, but then we will use the tool to create a rectangle (Or whatever shape we want, I just decided to do a rectangle). Once we created this rectangle we had the option to round the edges of the rectangle (I chose to round the edges of my keychain). Then after that we would create a circle (The hole in our keychain). We would change the fill of both shapes to "no fill", and change the color of the shapes to red (Because red means cut on the laser). We also had to change the thickness of the lines so that the laser could cut a nice thin line in our plastic. Once we were done setting up the shape of our keychain, it came to deciding what we would actually put on the keychain. The first thing that I did to my keychain was put my name on it by adding text. (I changed the font of the text to make the keychain look nicer.) After adding the text, it came time to add the image that I wanted on my keychain. We were told specifically to use a black and white clipart image (The laser obviously can't print colored photos). Once we found the image we wanted, we would just copy it and paste it into illustrator. After pasting it we would click on the "trace image" option, this converts the image from a raster image to a vector. Then we just size the image down to our liking, save, and get ready for the next phase.
Keychain Project: The Laser
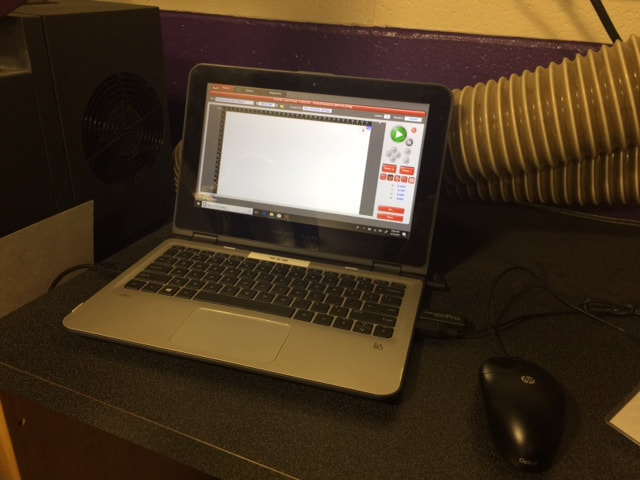
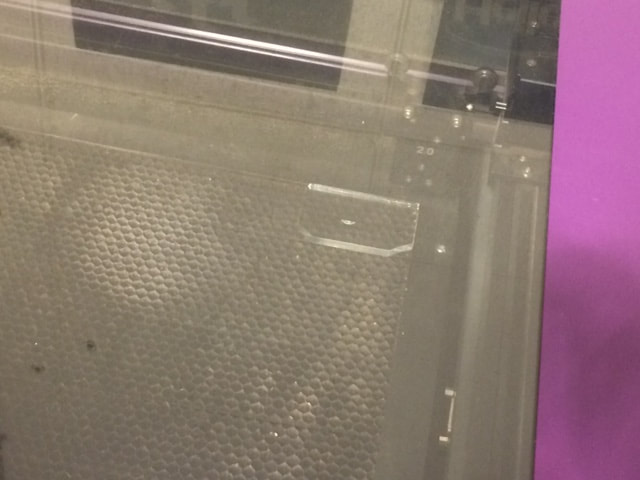
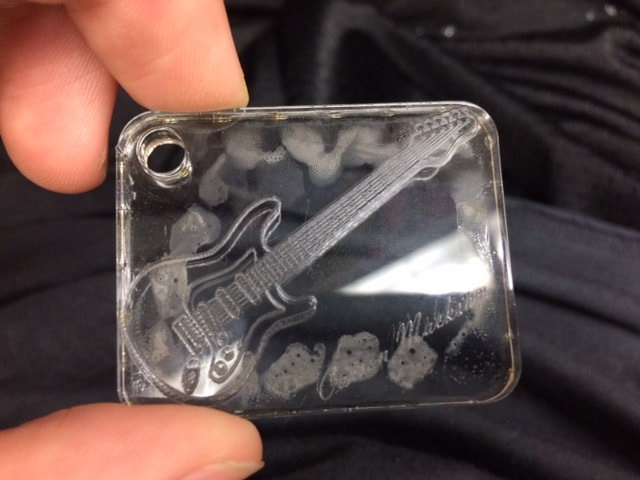
After I saved my illustrator file to my drive, I headed down the lab to begin cutting-out and engraving my keychain. I was able to transfer my file onto the laptop, and begin using the program that actually runs the laser (UCP). I grabbed the cleanest piece of acrylic that I could find from the pile, and then grabbed the digital caliper. Once I had measured the thickness of the acrylic, I would enter the thickness into UCP. Then, once I was done measuring the acrylic, I used UCP to direct the laser onto the piece of acrylic, this was to ensure that the laser would actually engrave on the acrylic, and not onto the middle of the machine. When everything was set up, I pressed the green button and the laser began engraving my keychain. The heat from the laser partially melted the back of my keychain, but other than that my keychain printed out nicley.
|
|
|
Vinyl Notebook Project: Applying The Vinyl
|
|
|
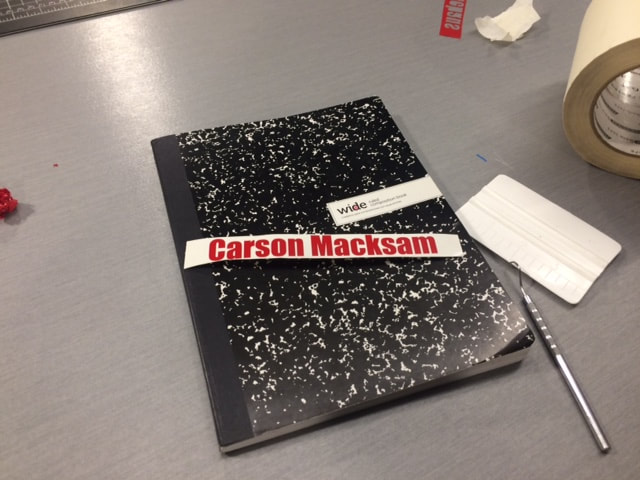
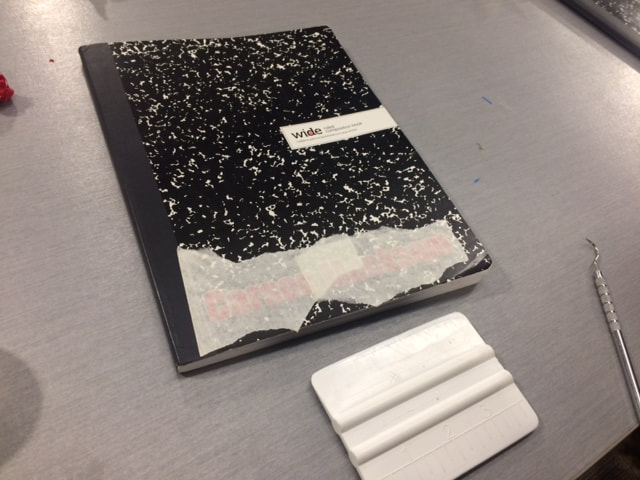
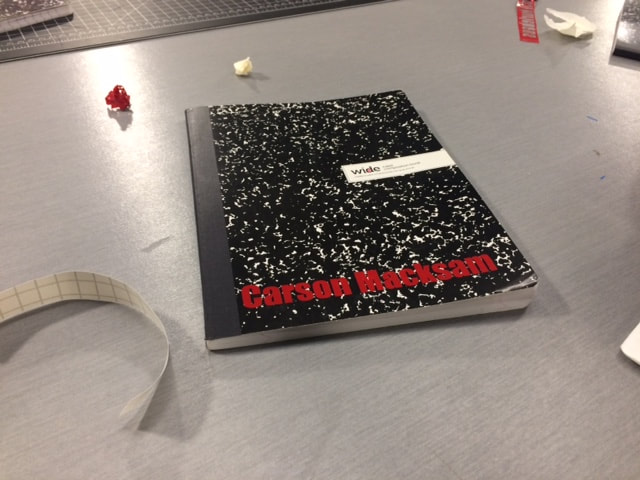
To start out the vinyl project, we were given a vinyl decal of our names, and were instructed to apply it to our IDEA notebooks. The first step to applying it was to peel off the red layer of vinyl surrounding my name. Then I would take the dental tool that I had taken out, and pick out the letters that still had vinyl filled in where they should be empty. After that, I would grab tape and apply a layer over my name. To ensure that the tape will pull up the decal, I took my spreading tool and firmly pressed the tape down onto the decal until I was sure that it was bonded firmly to the tape. I then carefully transferred the decal onto the tape. Once the decal was completely on the tape, I positioned the tape to the spot on the notebook where I need my decal to go. Once I had found the place for my decal, I pressed the the tape firmly onto the notebook. But to make sure that the decal was firmly applied on the notebook, I took my spreading tool and applied pressure to the tape. Once I was sure that the decal was applied onto the notebook, I carefully pulled the tape off at a horizontal angle (just to make sure that none of the letters would get pulled off with the tape). And finally I had successfully applied the decal to my notebook!
What I learned
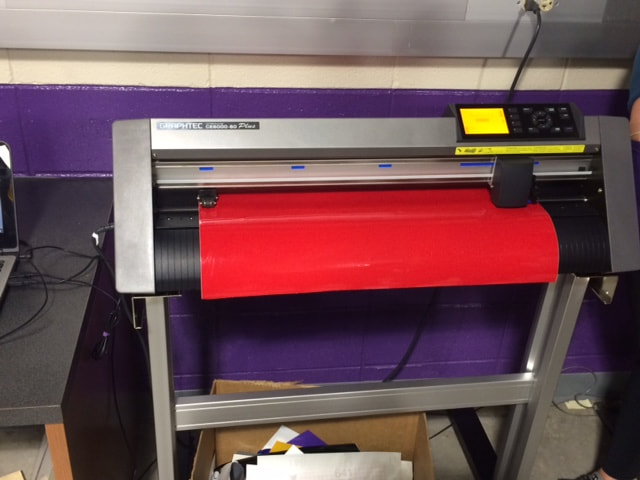
Throughout both of these projects I feel like I learned a lot. Some of these things included learning how to operate and use Illustrator to effectively create projects and sketches for IDEA. Another thing I learned was how to safely operate and use the Universal Laser. One of the last things that I learned through these projects was how to safely and properly use the Vinyl Cutter. Because of the things I learned by these projects, I will be able to help myself get through my individual laser project rotation and my individual vinyl project in the future.
