CNC Brake-Bracket Project
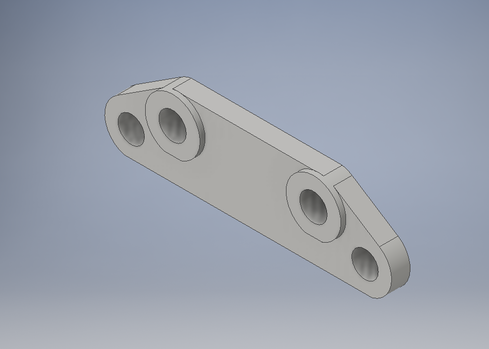
So first I started off by creating an Inventor file. We were given the dimensions of the brake-bracket on the whiteboard, so that we knew how to create the part. I then created the brake-bracket in Inventor
without any discrepancies, and moved onto the second portion of the project: Fusion 360.
without any discrepancies, and moved onto the second portion of the project: Fusion 360.

In Fusion 360, I programmed the codeto run the mill. It was a similar process to setting up the router, but instead of using a 2D contour in the program, we used a 3D adaptive clearing. I set up the stock, created a path for the mill to follow, and then created the G-code for the mill. Once it had generated the G-code I inserted my USB into the computer, downloaded the code and headed down to the mill.
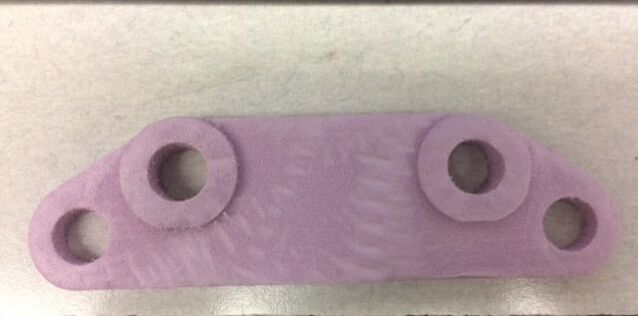
I headed over to the Mill, plugged in my USB, copied the G-code over to the mill and then grabbed my material. I measured it down on the cutting board and chopped off whatever I didn't need to make the brake-bracket. I put some two-sided tape onto the foam and loaded it into the mill. Then using the controls, I centered the mill right on the bottom left corner of the material, zeroed all of the coordinates, and hit start. It took about 15-18 minutes to mill. I think that it turned out pretty well and that nothing went wrong.
What I Learned:
During this project I learned how to: set up a fusion 360 file for the mill ( It's different from the router), and I learned how to successfully operate the CNC Mill.
