Final Project - Introduction
For our final projects, we were told that we can do anything we want as long as we use 3 of the machines in our lab and are able to get the project finished by January 22nd. We initially started off by brainstorming a list of 10 possible projects that we could do. Once we had gotten 10 ideas listed we needed to do a "deep dive" on 5 of the projects that we had selected. Once the deep dive had been done we needed to decide on 1 project that we wanted to do most. I eventually ended up settling on creating an electromagnetic Thor's Hammer.
Final Project - Designing
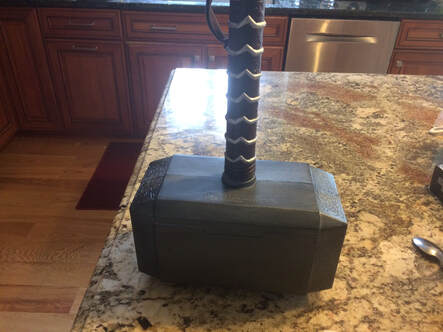
For my first design, I originally intended on making the hammer have a cut off switch connected to the inside of the handle of the hammer. I wanted it to be able to turn off by having a metal ring on my finger touch a piece of metal inside the hammer and turn the magnet off. This would have been very expensive and too complicated to build however, so I decided to scrap this idea. I ended up making the hammer have a button located within the inside of the top of the handle connected to my battery and magnet, being able to turn off the magnet and pick up the hammer with ease. Since I was using a kid's toy to base my design off of the hammer itself was not very sturdy, so I decided to put a steel pipe in the center and thread it to my electro magnet.
Gantt Chart Timeline

I planned out my build from the beginning with getting my materials, to the end with assembling the finished product.
Getting The Materials
|
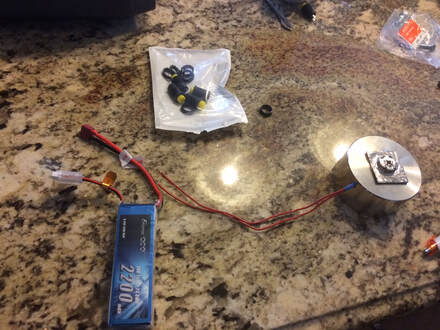
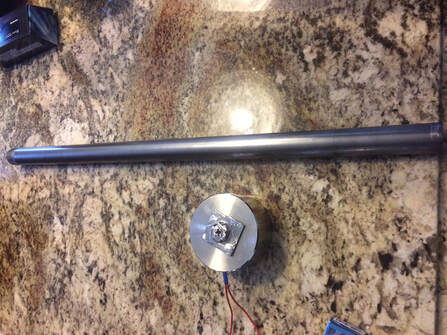
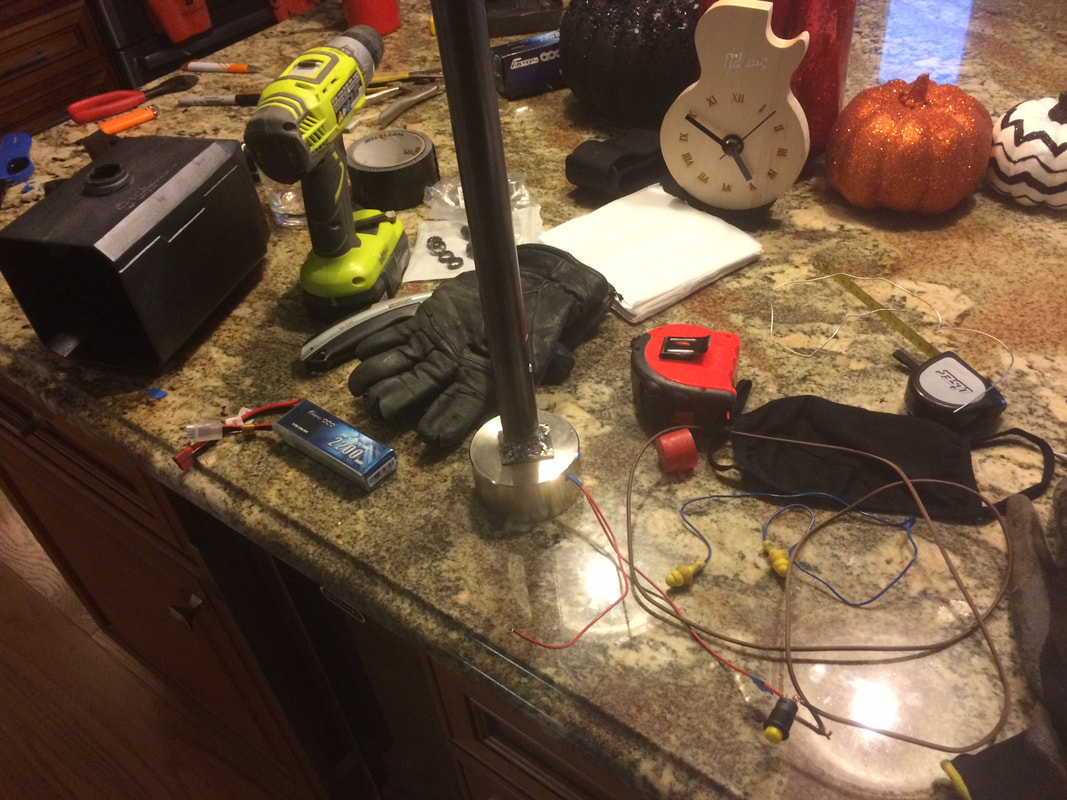
Here is the assembly of some of the important materials that are necessary to make this build function. I have the toy hammer, the button that I will use to toggle the magnet, my very powerful 12v 2200 mAh LiPo battery, and the steel pipe that I will be using to make the hammer more stable.
|
Building/Assembling the hammer.

|
First I had to prepare the hammer for inserting the electronics and pipe, and to do that I had to cut a side of the hammer and also remove the top of the handle.
|
|
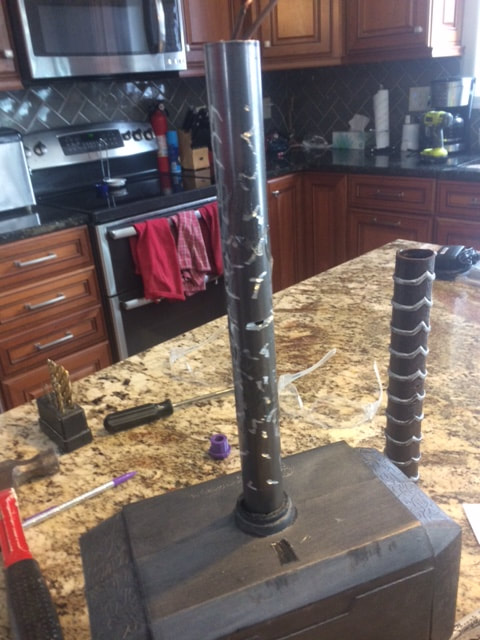
Next I had to attach the pipe to the electromagnet. In order to do that I had to take a piece of metal and weld it to a screw to be able to thread it into the magnet. Then I had to weld the pipe to the piece of metal so that it could thread into the magnet and give a nice connection. I then also realized that the pipe would not fit into the hammer when welded to the piece of metal because the piece of metal is square, and obviously that isn't gonna fit into a circle. So I then cut the handle off of the hammer head and then unscrewed the magnet and the pipe and managed to fit the pipe into the hammer. I also had to drill a hole into the pipe in order for the wires to be able to run through it.
|
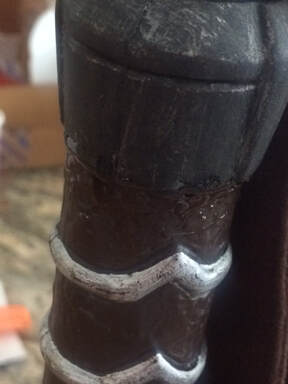
I then realized that my original design of just epoxying the handle to the hammer would give support only the handle and not to the hammer's head. So I came up with a simple idea of taking a small pin made of metal, cutting a slot in the metal pipe and putting the pin in through that slot near the top of the inside of the hammer, in order to secure its structural integrity and not break when someone is trying to lift the hammer.
|
|
|
|
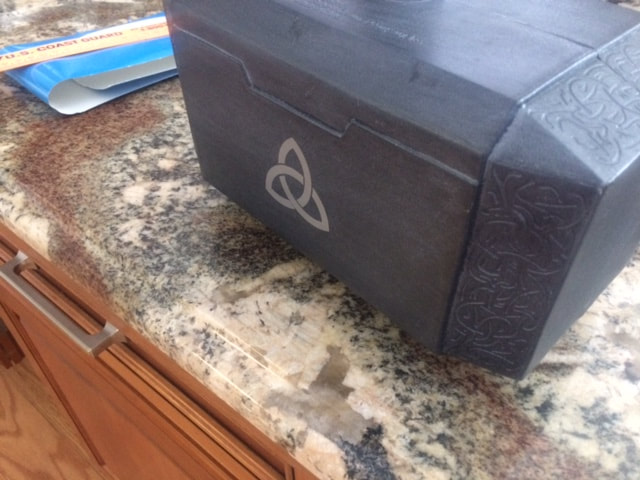
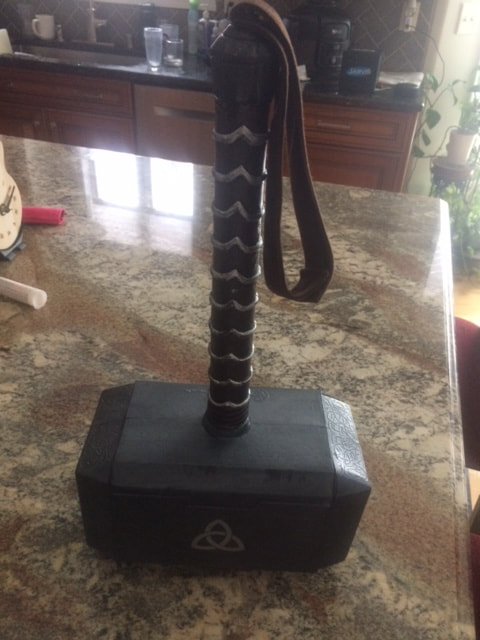
Also just for fun, I decided to create 2 vinyl triquetra decals to make this hammer look even better.
|
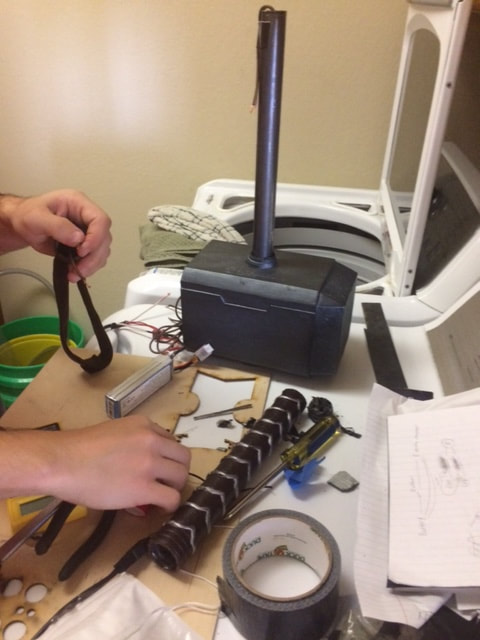
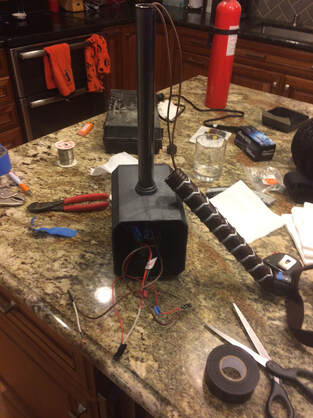
Once the structural part of the hammer was done, it was time for the electronics. I used 2 very long wires to reach the top of the handle where the button was located. I had drawn up a circuit of how the power was going to flow from the battery to the button, to the magnet, and complete the circuit. It's a very simple circuit, but definitely most effective (and also not as time-consuming as some of my previous concepts). Also I had to think about how we were going to be able to recharge the battery, and to solve this issue what I did was I soldered all of the wires except for the ones that would be connected to the battery. I ended up making little copper rods to be able to connect to the battery but also be removeable incase of the battery needing to be recharged. This is also why we made 1 side of the hammer able to be opened and closed and not sealed off so that we would be able to access the battery and recharge it. When the circuit was complete, I made sure to test the magnet so that I knew for sure that my circuit was working properly. Thankfully it worked (and didn't catch on fire!) because it was able to attach to my washing machine with a very strong force.
|
|
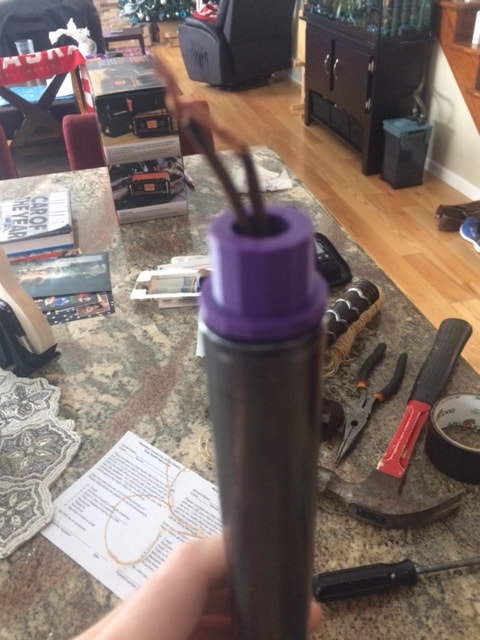
Now all that I had to do was get the rest of the hammer back together to make it look like nothing had happened to it (kind of). First, I had encountered an issue with the placement of my button. Since I wanted it at the top of my handle, it would need to stay in place at the top. But I couldn't just leave the button there and have it fall out when the hammer is turned upside-down, so I decided to create a 3D-printed part to ensure that my button would stay perfectly in place at the top of my hammer, while also having a hole to allow the wires to come through it. I decided to add a lip to my piece as well to make sure that it would fit on the handle without having to worry about it falling through the handle. Next came time to putting the handle on the pipe. I wanted to make absolutely certain that the handle would not be able to come off when people are pulling on the hammer, so I ended up choosing to add a pin that would slot through the pipe and the handle. I also cut the pipe up a bit to give the epoxy a better way of sticking to the handle. When I had the handle attached to the pipe and the epoxy had set in, I immediately noticed how incredibly strong the handle was. It feels as if it would be almost impossible to take the handle off of the hammer now! And finally, the time had come. It was time to put the last piece of the hammer on. It was a little bit tricky at first trying to fit all of the wires inside the pipe with the 3D-Printed top hat piece in place, but I managed to fit it all in there without separating any of connections thankfully. Then once I was sure I had the cap of the hammer exactly where I wanted it, I started to put the epoxy on it. I had a few smears here and there, but no drips thankfully. I must say, the hammer looks absolutely awesome now! And it's also a bit heavy too with the steel pipe in there.
|
|
Testing the Hammer!

Now comes the part of the project that has been most anticipated. It's time to test the hammer! I honestly could not believe just how strong that magnet was! It felt like it was glued to the manhole cover when I was pulling on it! And to prove that I was not just doing a wimpy pull, I started to actually lift up the manhole itself. It works! And It was absolutely worth making. I enjoyed the building process, and the result was phenomenal!
|

|
Summary
Honestly, this final project has been a lot of fun even from the very beginning. We were told that we could do just about anything, which gave me a lot of creative choice when it came to choosing my project, and I was very happy in the project that I had chosen. Over the many months that I was conceptualizing and/or building my project, I learned a great many things. One of the first things that I had learned which I found interesting was the creation and use of a Gantt chart. I had never used a Gantt chart (much less heard of one) before I had decided to take on this project. Something else that was significant was learning how to weld. Of course my welds aren't going to be pretty, but that's okay since no one is going to be able to see them anyways since they're inside the hammer. I have soldered before this project, but it was nice to have a little bit of a refresher-course on how to solder properly. (and I would also say that my solders are pretty good too!) I also got a little bit more of a feel for electrical engineering this project since I had to learn how to calculate the number of amps and volts it would take to power my magnet properly. Since none of the batteries came in just amps I had to learn how to calculate milliamp hours into just normal amps. I learned more about how to create a basic circuit as well, and I would say that I had done a pretty good job too considering that I hadn't done quite extensive electronics-work like this in a long time. Overall, I would say that this project was an absolute joy to work on, and I am so happy that I was able to take this class and have the experience of doing this!
